The practical spare part
3d christmas decorations are a fun first project, but the real confidence builder is printing a missing knob, hook, or bracket that solves a household problem in under an hour.
First prints that work
The first week of 3D printing is about learning the machine, not mastering it. These are the five scenarios where a new user gets a reliable win — and what each one actually teaches.
3d christmas decorations are a fun first project, but the real confidence builder is printing a missing knob, hook, or bracket that solves a household problem in under an hour.
A 20-minute calibration cube isn't a toy — it's the fastest way to learn what your layer height, temperature, and bed adhesion actually do. One cube tells you more than a week of reading forums.
A lithophane panel or a custom keychain with a name takes 15 minutes to set up and prints in two hours. The result looks far more expensive than it is — the ideal first present.
Printing a drill guide, a router template, or a sanding block turns a one-off tool into a repeatable result. It's the difference between a hobby and a workshop upgrade.
For less than a roll of filament, you can print a replica of a building or a terrain map. The learning is in orientation supports — and the payoff is a desk piece that sparks conversation.
A benchy — the tiny boat — is the best ai 3d model generator of calibration prints. It pushes overhangs, bridges, and clearances to their limit, showing you what your machine can really do.
Before & after
The same STL, two very different results. The left is what a beginner gets with default settings. The right is the same model with calibrated temperature, proper bed adhesion, and a tuned retraction.
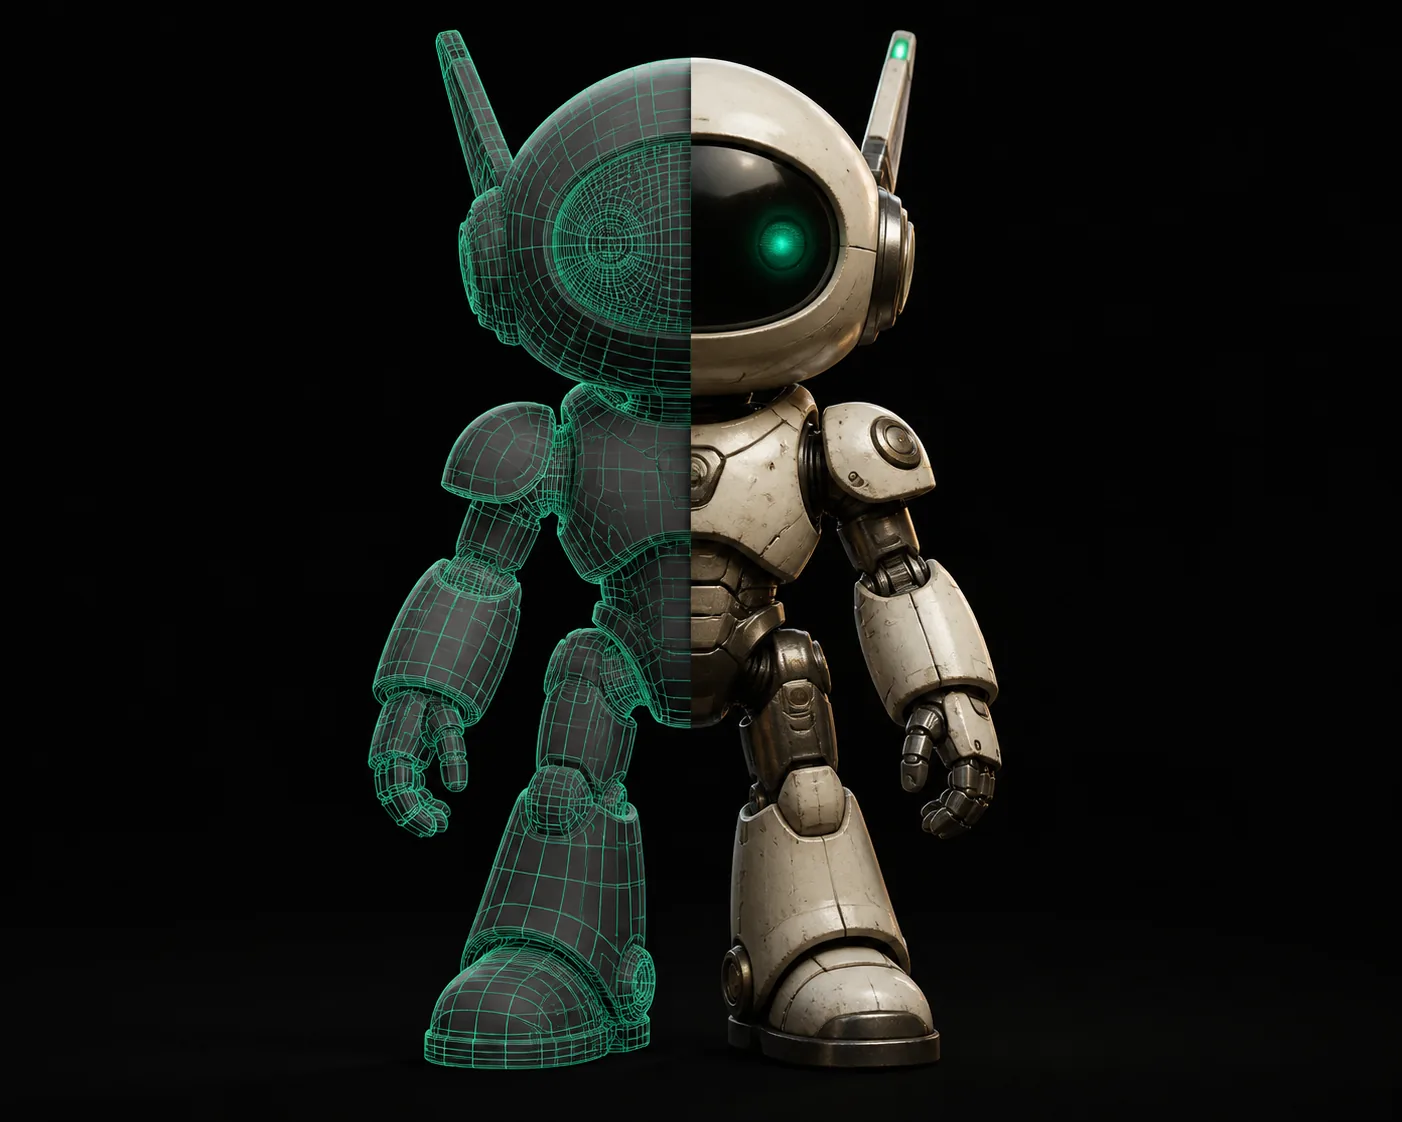
Both parts were printed on the same printer — the only variable was the profile.
Pick your path
The material choice decides your entire learning curve. Match it to what you actually want to print.
Choose this when you want decorative parts, prototypes, or anything that doesn't sit in a hot car.
Then: it sticks to the bed easily, prints at low temperature, and smells sweet. The trade-off is low heat resistance.
Choose this when the part needs to survive outdoor use, hot water, or light mechanical stress.
Then: it's nearly as easy as PLA but needs a hotter nozzle and often a glue stick. The payoff is real toughness.
Choose this when you want miniatures, jewelry, or parts with silky-smooth surfaces.
Then: the print quality is unmatched, but you're adding a wash-and-cure workflow and working with messy liquid.
Where we came from
Open-source printers that could print their own parts. The hobby is born.
Chinese kits bring the price down, but setup still needs a weekend.
Auto-bed-leveling and touchscreens make the first print a 10-minute job.
Newer slicers auto-detect supports and suggest settings based on your model.
Filament cost (USD)
$0.80
Print time at 60 mm/s
1h 48m
Cost estimate for standard PLA at $18/kg. Time is an approximation for a typical 0.4mm nozzle.
A reliable entry-level printer is $200–$300. Add $25–$40 for a roll of PLA and a few basic tools — you'll spend less than $350 total for your first 100 hours of printing.
PLA — by far. It's forgiving to temperature, sticks to the bed without glue, and produces no fumes. Resin gives a better surface finish but requires handling liquid resin, a wash station, and a curing box.
For PLA, keep the bed at 60°C, slow down the first layer to 20 mm/s, and clean the bed with soap and water before every print. A brim adds adhesion when the base is small.
With a pre-sliced test cube, you can go from unpacking to a finished cube in about 45 minutes. The print itself is 20–25 minutes; the rest is setup and bed leveling.