Unity Asset Pipeline
Build Your Unity World with a 3D Model for Unity
Stop blocking on asset creation. Generate a 3D model for Unity that matches your art direction, imports cleanly, and fits directly into your existing project structure. From graybox stand-ins to final props, your scene stays in motion.
Who This Fits
Built Around the Way Unity Teams Already Work
A 3D model for Unity is only useful if it slots into your pipeline without rework. These are the roles that get value from day one.
Indie Game Developer
You are building a prototype for a game jam or a vertical slice. You need a 3d model for unity that looks finished enough to test gameplay, without waiting days on an external artist. Generate a character or prop, drop it into the scene, and keep iterating on mechanics.
Technical Artist
You build shaders and tools that other developers use. Generating quick base meshes lets you test your custom shader on varied topology, normal maps that behave correctly, and UV layouts that survive the trip through Unity's import settings.
VR/AR Experience Builder
With ai 3d for game development, you can populate interactive spaces. Create furniture for a room-scale environment, tools for a training simulation, or abstract shapes for a UI experiment. The OBJ export keeps the asset light enough for mobile XR.
Environment Artist
You need variations on a theme — rocks, trees, debris, architectural details. Generate a base model, then use Unity's own tools to remap materials or add LOD groups. The consistent base meshes mean your modular kit stays visually coherent.
Rapid Prototyper
Hospital prototypes, architectural walkthroughs, product configurators. A 3D model for Unity cuts the gap between "what if we show it this way?" and "we showed it this way." Generate options, swap them in a scene, and get stakeholder feedback in hours, not weeks.
Time Saved in Unity
What a 3D Model for Unity Means for Your Schedule
Numbers from a sample of creators converting their first assets for Unity projects.
8.5 hrs
Average time saved per prop vs. manual modeling
23 %
Faster iteration per art pass when using generated bases
3.2 x
More environment variants explored on average per project
Pick Your Path
When a Generated 3D Model for Unity Makes Sense
Not every asset is a good fit. Here is how to decide whether to generate or build from scratch.
Generate When You Need Speed
When: Your scene has a blocking issue, or you need a placeholder that reads correctly in the camera.
Then: Write a text prompt or upload an image, export OBJ, and drop into your Assets folder.
Why: The generated mesh gives the art team a solid base to sculpt on, and the gameplay team can start testing interactions immediately.
Model When You Need Custom Control
When: The asset is a hero prop that players see up close, requires specific rigging, or has complex concave geometry.
Then: Use the generated model as reference or a basemesh, then add details in Blender or Maya before importing to Unity.
Why: Hand-built topology gives you predictable edge loops for animation and deformation, especially for characters.
The Workflow
From Idea to Unity Import in Four Steps
Describe or Upload
Write a text prompt like "stone well with rope and bucket, medieval village" or drag in a reference image. The more specific your prompt, the closer the output matches your art direction.
Review and Refine
See the generated model in the viewer. Spin it around, check proportions, and if it is not right, tweak the prompt and generate again. Most creators get their asset on the first or second try.
Export as OBJ
Download the OBJ file. It carries the mesh, UVs, and material references. For a 3D model for Unity, OBJ is the most compatible format for your import pipeline.
Import Into Unity
Drag the OBJ into your Assets folder. Unity's importer recognizes the geometry immediately. Assign your existing materials, adjust the scale, and you are done.
Before and After
The Difference in Your Scene
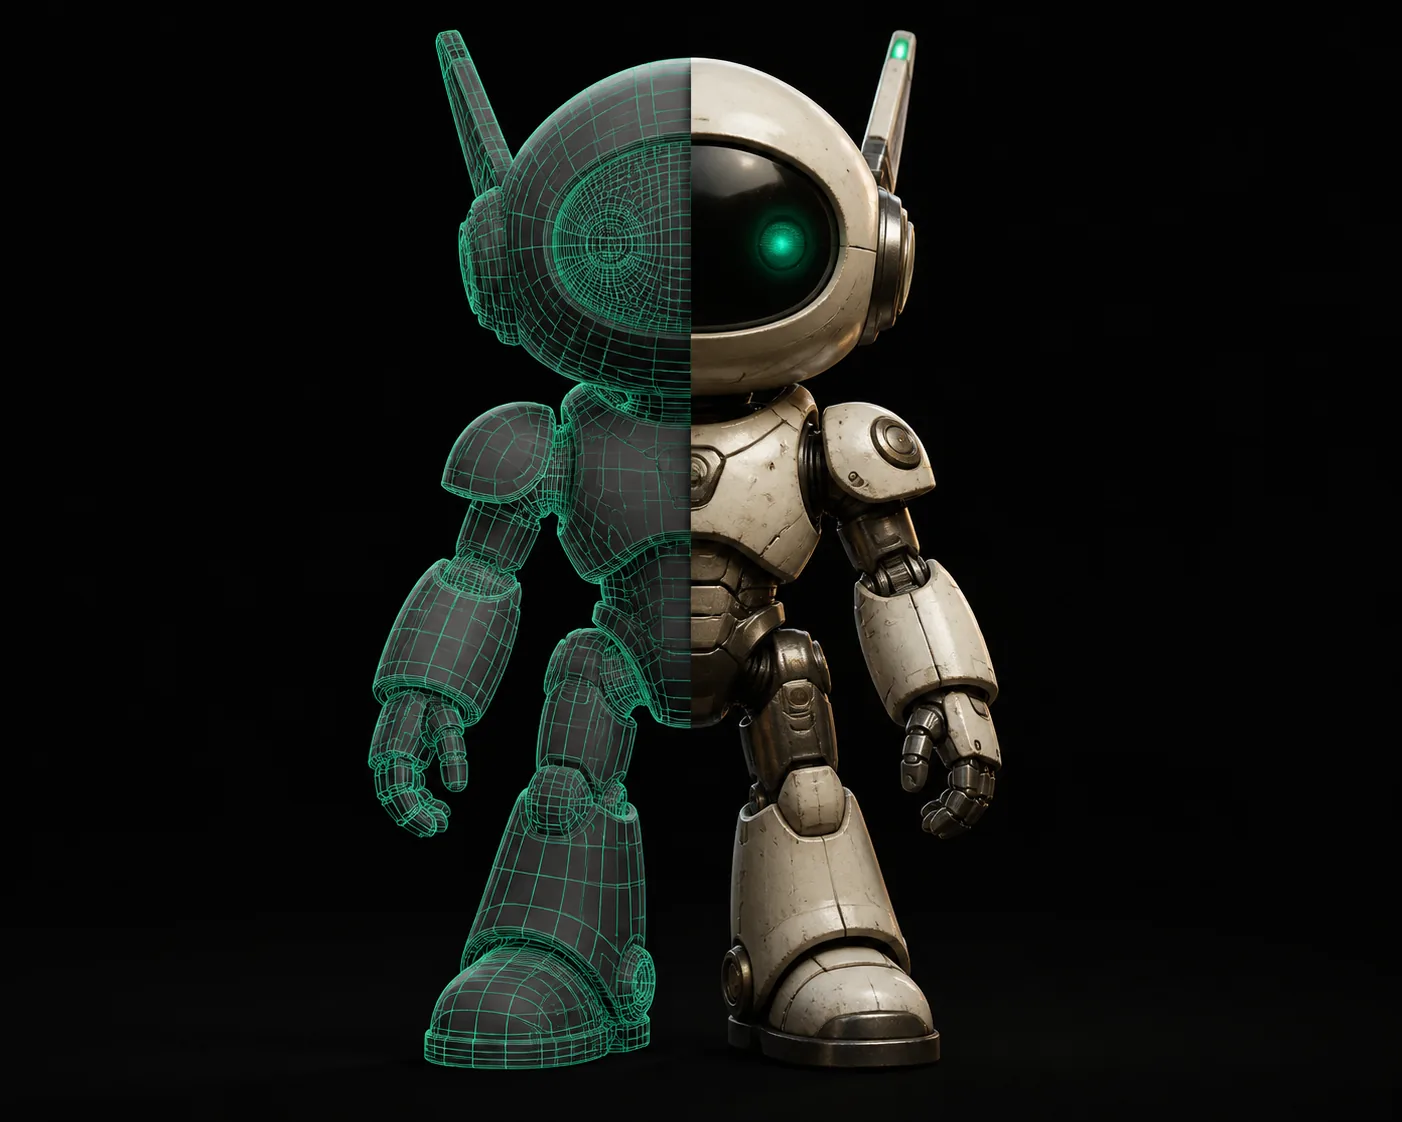
A quick visual comparison of how a 3D model for Unity changes the look of a graybox environment.
Quick Estimator
Estimate Your Time Savings
Drag the slider to see how many hours you could reclaim on your next Unity art pass.
85h
Manual modeling
10h
With Tripo 3D
75h
Time saved
FAQ
Questions About Using a 3D Model for Unity
What format should I export for Unity?
OBJ is the safest choice for a generated 3D model for Unity. It imports without dependencies, carries UV coordinates, and Unity can read it natively. If you need animations, convert the OBJ to FBX inside Unity or use your DCC tool of choice before importing.
Will the generated model have proper UVs for my materials?
The OBJ export includes UV coordinates. They are laid out cleanly enough for most texture work. For hero assets, you may want to re-unwrap in your 3D editor to get the exact texel density your project requires, but for environment pieces the default UVs are usually fine.
Can I use these models in commercial Unity projects?
Yes. Models generated through the tool are yours to use in commercial projects, including games, VR experiences, and simulations built with Unity. You do not need extra licensing for the generation itself.
How do I scale the model correctly inside Unity?
Unity's default unit scale has 1 unit equal 1 meter. If your scene uses a different scale, select the imported OBJ, look at the Scale Factor in the Import Settings, and adjust it to match your project. Most exports come in at a plausible real-world size.
What if the model needs to be rigged or animated?
The generated OBJ is a static mesh, so it does not include a skeleton. For a 3D model for Unity that needs animation, bring the mesh into Blender, rig it there, and export as FBX with the animation. The base geometry is clean enough to work with.