Tutorial
2D to 3D Model AI: How to Convert Images to 3D
Turn a single flat image into a fully textured 3D model in minutes. This step-by-step guide covers every stage — from preparation to export — using Tripo 3D's AI conversion pipeline.
Prerequisites
What You Need Before You Start
A successful conversion depends on having the right inputs. Here's the minimum checklist.
A Clear Reference Image
A JPEG or PNG with good contrast. Subject should fill at least 70% of the frame and be photographed from a clean angle. Avoid busy backgrounds — they confuse the depth estimation.
An Account or API Key
Tripo 3D works both through the web interface and via API. For the web tool, a free account is enough. Developers will want an API key for batch processing.
Output Format Decision
Know what you're building for. GLB works everywhere — web, Unity, Unreal. OBJ is a safer bet for legacy tools. FBX is the standard for animation pipelines. Lock this in before you start.
Step-by-Step
How to Convert 2D to 3D with AI
Follow these five steps exactly. Each one builds on the last, and skipping ahead creates errors downstream.
Prepare Your Image
Crop the subject so it's centered and remove anything you don't want in the final model. The algorithm treats everything in frame as geometry it must reproduce.
Upload to Tripo 3D
Drag the file into the converter or paste a direct image URL. The system checks resolution and flags any issues before processing begins.
Choose Parameters
Set your quality preset (standard or high), pick a texture resolution, and select your output format. For most uses, the defaults are correct.
Run the Conversion
Hit convert and wait. Standard quality takes 2–5 minutes. You'll see a live preview of the mesh being constructed layer by layer.
Download and Verify
Inspect the wireframe in the viewer. Check for holes, inverted normals, or texture seams. If something's off, tweak and rerun — it's cheaper than fixing in Blender.
Common Errors
Frequent Problems and Their Fixes
Every conversion issue falls into one of these four buckets. Diagnose fast and rerun.
If you're working in a game engine or need advanced material control, check our guide on AI 3D for game development first — it covers pipeline-specific settings.
Advanced Tips
Getting Production-Grade Results
These techniques separate hobbyist outputs from assets you'd ship in a real product.
Use Multi-View References
The tool accepts a single image, but you'll get a better mesh if you provide a composite — a front and side view side by side. The geometry solver uses both silhouettes.
Dial Texture Resolution to 4K
For close-up product shots, 1024px textures show pixelation. Bump to 4K when the model will be the hero of the scene. The files get bigger, but the detail payoff is visible.
Retopologize in Blender
The output mesh is dense. For animation or games, run a decimation pass in Blender first. Target a quad-dominant topology under 20k triangles. Our add lighting in Blender for 3D models tutorial shows the full cleanup workflow.
Before vs After
What the Conversion Actually Produces
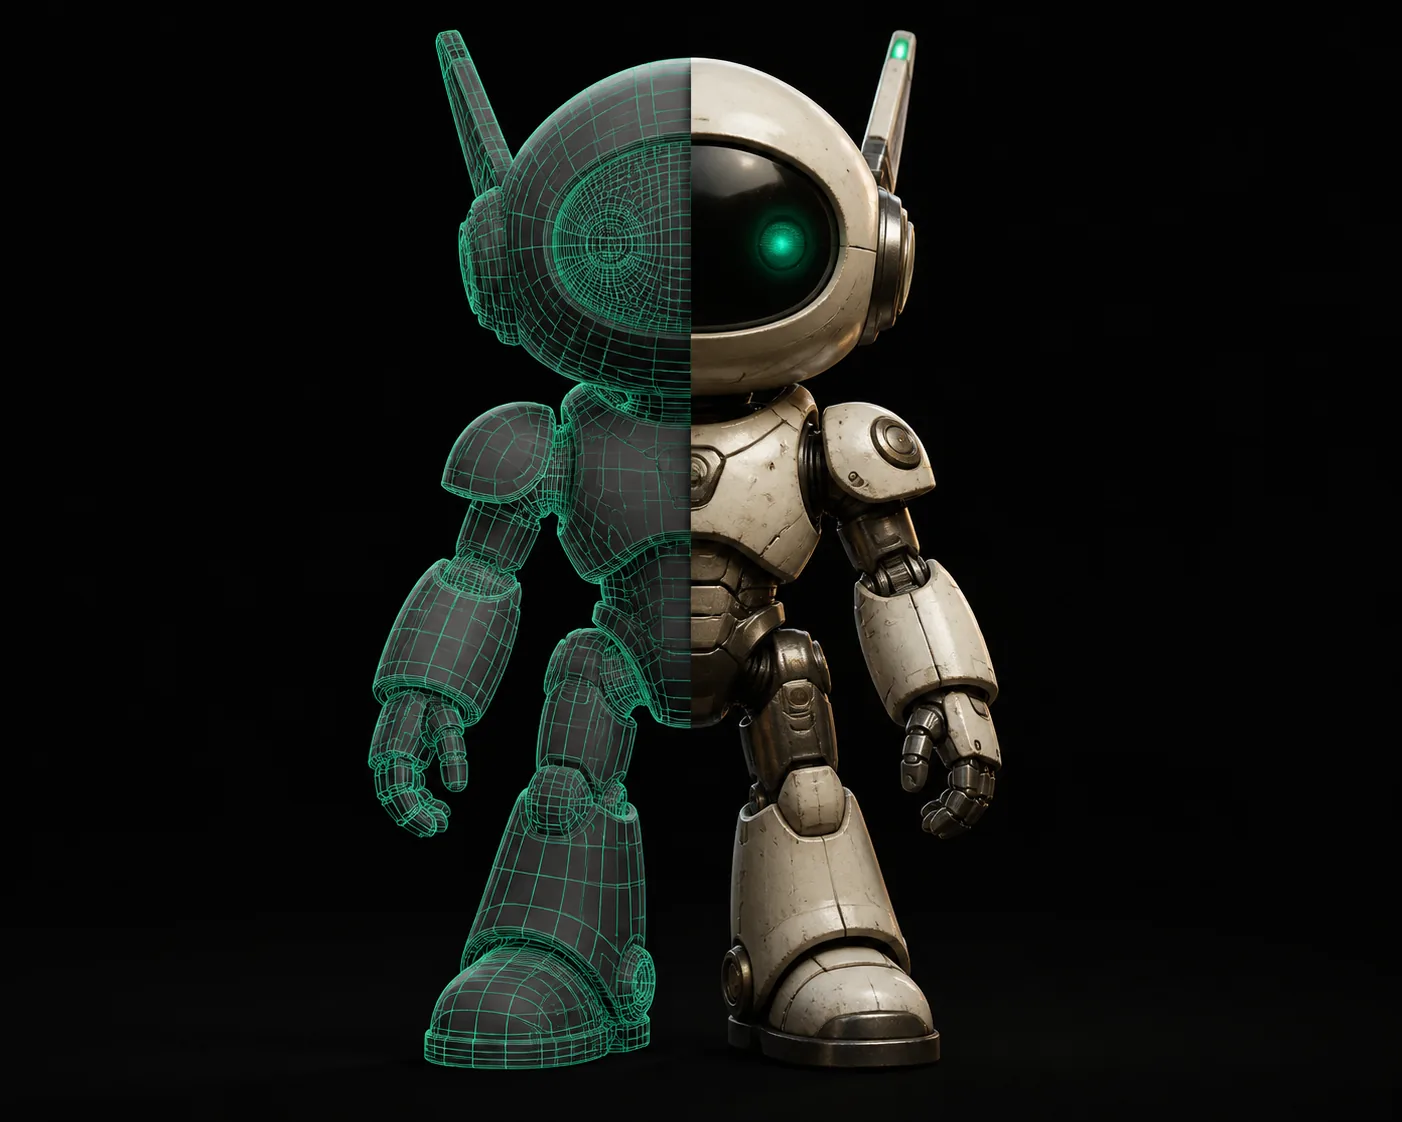
A side-by-side look at the input photograph and the finished, textured 3D model.
Notice the output retains the original color palette and shading cues from the photograph. The geometry solver reconstructs depth and silhouette, then the texturing pass projects the image back onto the mesh.
Honest Limitations
What This Route Can't Do
Being upfront about the edges saves you from wasting a session chasing impossible results.
Transparency & Glass
Refractive materials like glass or water come out opaque. The depth solver has no way to model light bending through a surface from a single photo.
Workaround: Rebuild transparent parts as separate geometry in Blender.
Fine Interior Details
If your object has intricate cavities or undercuts the camera can't see, the model fills them solid. This is a depth-estimation limitation, not a settings issue.
Workaround: Photograph the object from multiple angles and composite.
Animated Characters
The output has no rig or skeleton. It's a static mesh with a texture. To animate it, you'll need to manually rig it in Blender or use a dedicated auto-rigger.
Workaround: Use the mesh as a base for retopology, then rig.
FAQ
Tutorial FAQs
Quick answers to the questions that come up most during conversion.
What image resolution do I need for a clean 2D to 3D conversion?
Aim for at least 1024×1024 pixels. Below 512px, the texture projection step starts smoothing over fine details, and you'll see visible blur on the final mesh.
Can I convert a sketch or line drawing instead of a photo?
Yes, but with caveats. A clean, high-contrast drawing with no shading works — the algorithm reads the silhouette. Sketchy or heavily textured drawings produce noisy meshes because every pencil mark becomes geometry.
How long does the conversion actually take?
Standard quality typically finishes in 2–5 minutes. High-quality mode with 4K textures runs 8–12 minutes. Queue times spike during peak hours — evenings in US time zones are the busiest.
What's the best output format for a game engine?
GLB is the safest choice. It packs the mesh, textures, and material into one file that Unity, Unreal, and three.js all read natively. Convert to other formats only if your pipeline forces it.
Why does my model look nothing like the image?
Usually it's background clutter. The AI tries to reconstruct everything in frame. Crop to the subject, use a plain backdrop, and ensure the object is fully visible — no parts cut off at the frame edge.
Ready to Convert Your First Image?
Upload a photo and get a textured 3D model in minutes. No software install required.
Start Your Conversion