Blender Lighting Tutorial
Add Lighting in Blender for 3D Models: A Complete Tutorial
Lighting makes or breaks a 3D render. A model that looks flat under default lighting can look stunning with the right setup. This guide walks you through choosing the right approach for your scene, setting up lights in Blender, and finishing with a clean render.
Quick Decision
Decide Which Case You Are
Not every scene needs the same lighting setup. Check the table below to find your starting point.
Path A
Three-Point Lighting for Single Objects
The classic setup for product shots, characters, and hero renders.
Key Light
Place a Point or Area light about 45° to the side and slightly above your model. Set the strength between 100 and 300 depending on your scale. This is your main light source — it defines the overall look.
Fill Light
Add a second light at about 45° on the opposite side. Lower its strength to roughly half the key light. This softens shadows and reveals details that would otherwise be lost in darkness.
Rim Light
Place a light behind your model, pointing toward the camera. It creates a bright outline that separates the object from the background. Strength around 150–400 works well. Enable "Specular" set to 0 on the fill light to avoid unwanted highlights.
For a 2d to 3d model ai workflow, you can generate your model in Tripo 3D and then bring it into Blender for this lighting setup.
Path B
Area Lights and World Lighting for Scenes
When your model sits inside an environment, you need broader lighting coverage.
Area Lights for Windows
Scale an Area light to match your window shape. Set strength to 50–100 for interior daylight. Add a second Area light on the opposite wall at 25–50 for bounce fill. This mimics real room lighting with clean gradients.
Sun Light for Exteriors
Use a Sun light at any distance — it stays directional. Rotate it to cast long shadows. Set the angle low for golden-hour scenes or high for midday. Strength around 3–5 works well in Cycles, 1–2 in Eevee.
World Lighting for Ambient
In the World Properties, add a Sky Texture for outdoor scenes or a simple color with low strength (0.1–0.3) for indoor. This fills remaining shadows and sets the mood. Be careful — high world strength washes out your model.
If you're lighting a model that came from an AI text-to-3D pipeline, start with the world environment before adding local lights.
Final Check
Verify Your Lighting Before Rendering
Run through this checklist before you hit render — it catches 90% of common mistakes.
Required: Turn on "Bloom" in Eevee or "Glare" in Compositor for emissive materials — without it bright surfaces look flat white.
Required: Check viewport shading with "Rendered" mode to see the final result, not just the preview.
Required: Look at your shadows — they should be soft on the side opposite the key light, not harsh on all sides.
Required: Ensure your background is properly lit — a black background with a bright model looks unbalanced.
Brief History
How Blender Lighting Has Evolved
Understanding the history helps you know why today's workflows look the way they do.
1998
Blender 1.4
Basic point, sun, and ambient lights. No ray tracing — shadows were baked or faked.
2011
Blender 2.6
Cycles introduced — a path-tracing engine that brought physically accurate lighting to everyone.
2018
Blender 2.8
Eevee real-time renderer launched. Game-like lighting previews became standard for fast feedback.
2021
Blender 3.0
Cycles X — rewrote the rendering core, making it 2–3x faster for the same quality.
2023
Blender 4.0
AgX view transform — replaced Filmic as the default, improving color accuracy and dynamic range handling.
2024
Blender 4.3
EEVEE Next — ray-traced shadows and reflections without bouncing light. Real-time quality jumped significantly.
Before / After
See the Difference Lighting Makes
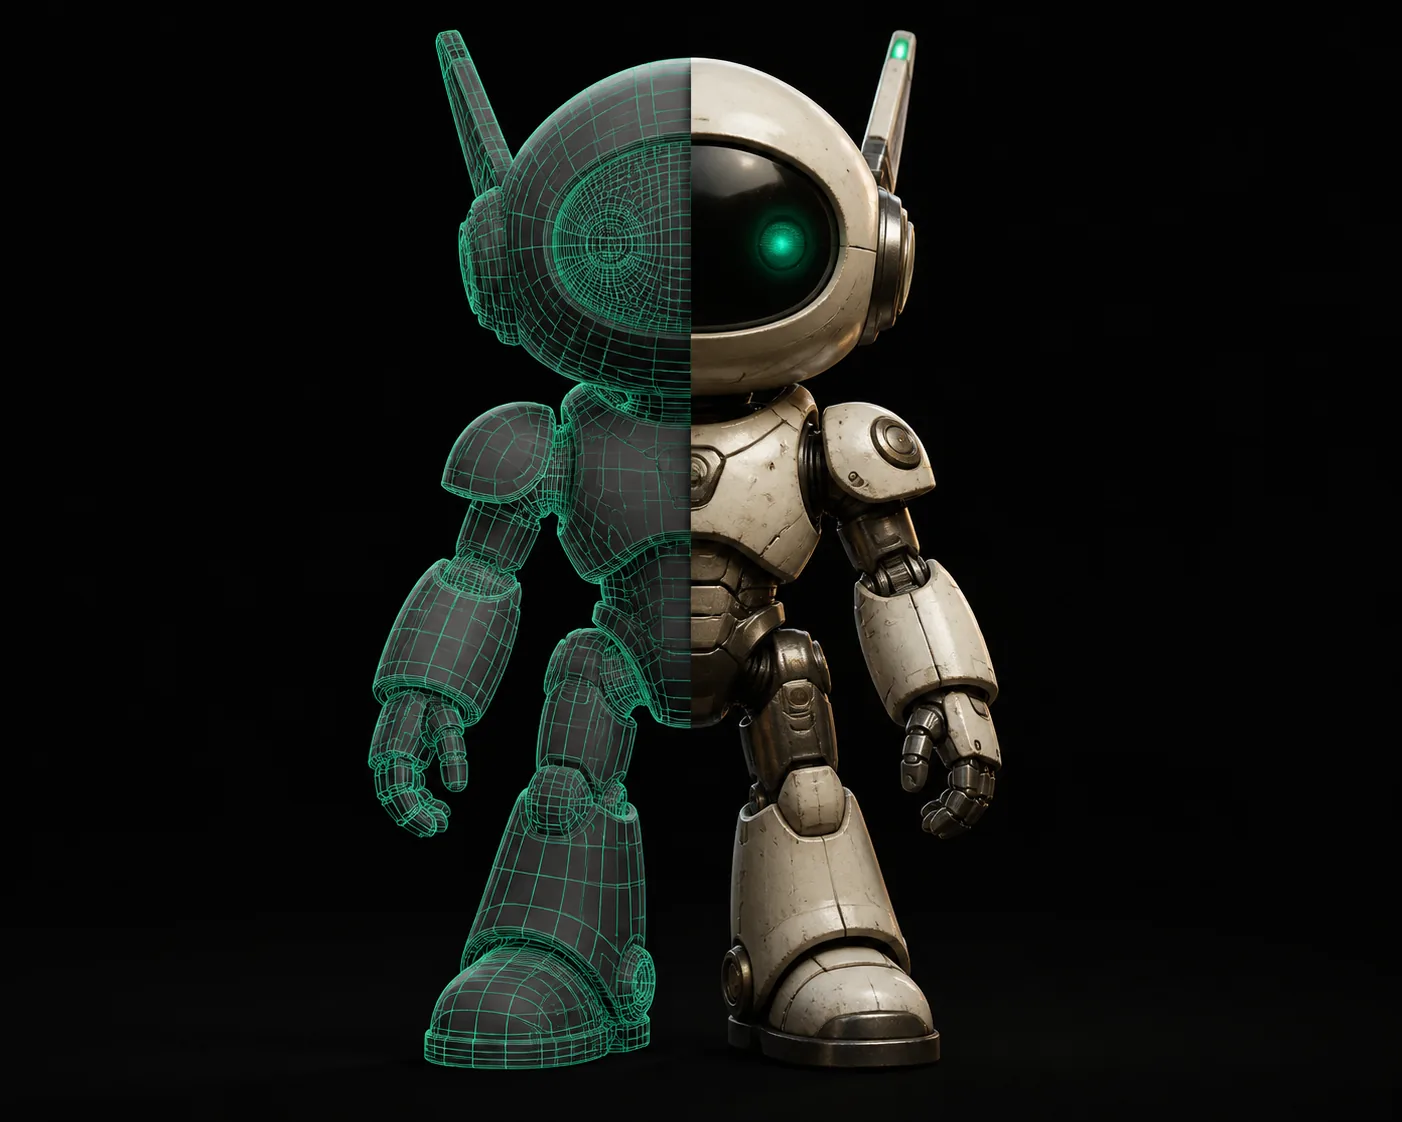
The same model, lit two different ways — one flat, one fully developed.
The "after" image uses the three-point setup from Path A — key, fill, and rim.
Honest Limits
What This Tutorial Can't Do
No guide covers everything. Here's what falls outside this workflow.
Volumetric Light
This setup uses direct lights only. Real light shafts require volumetrics, which need separate render settings and much slower sampling.
Workaround: Add a volume scatter shader on a cube around your scene, then increase samples to 512+.
Animated Lighting
This guide covers static renders. Keyframe animation changes how you place lights and how you handle motion blur.
Workaround: Use a light linking system and animate light strength with keyframes — still needs separate practice.
HDRI Reflections
The area light approach gives you control, but it lacks the detailed reflections of a captured environment image.
Workaround: Replace the world color with an HDRI texture — keep your local lights for shadows.
Tutorial FAQ
Common Lighting Questions
Why is my render too dark even with lights?
Check your world strength first — in Cycles a world strength of 0.0 means pure black for anything not directly lit. Set it to 0.1–0.3 for a baseline. Then verify your light strength: for a standard 2-meter model, a Point light at 100 w is about right in Cycles, but you may need 500–1000 in Eevee due to different falloff.
Should I use Eevee or Cycles for lighting?
Eevee gives you instant feedback and is fine for product shots and stylized renders — it uses screen-space reflections and baked shadows by default. Cycles is physically accurate with true bounced light, which matters for interiors and realistic materials. For most single-object scenes, Eevee with Raytraycing enabled (Blender 4.2+) looks nearly identical to Cycles.
How do I soften shadows in Blender?
Shadow softness depends on the light's size relative to the distance to your object. A larger Area light at a moderate distance gives soft, natural shadows. A Point light close to the model creates harsh, sharp shadows. Increase your Area light's size or move it farther away to soften, and add more light bounces in the render settings.
Why does my model look flat?
Flatness usually means no directionality — your key light is too centered or you only have one light. Add a fill light at a clear angle from the key, and consider a rim light behind. Also check your material normals: if the model has no shading enabled or the normals are flipped, no light setup will fix it.
What light strength should I use for a small product?
Scale matters. Blender's light units are physical in Cycles — a Point light at 10 w works for a 10 cm object, while 100 w suits a 2 m object. For Eevee, strength is relative: start at 100 and adjust by factors of 2. A quick test: render with 100, then 200, then 50 — you'll see the sweet spot quickly.
Ready to Light Your Next Model?
Generate your base model in Tripo 3D, then follow this guide to bring it to life in Blender.
Start Modeling Free